Bad posture is the home office epidemic nobody talks about enough. When you worked in an office, you at least had a purpose-built chair and a desk at the right height. At home, you might be hunched over a laptop on the kitchen table — and your body is keeping score.
The good news: you don’t need to spend thousands to fix your posture. Most improvements come from adjusting what you already have, building a few habits, and adding one or two key products. This guide covers everything that actually works, based on ergonomic research and real-world home office experience.
If you’re setting up a home office from scratch, start with our home office setup guide for beginners — it covers the big-picture decisions. This guide goes deep on the posture-specific details.
Why Posture Matters More at Home #
In an office, you move naturally — walking to meetings, standing at a colleague’s desk, heading to the kitchen. These micro-movements break up static posture throughout the day.
At home, your commute is 12 steps. Your meeting room is the same chair. The kitchen is right there. Without conscious effort, you can easily sit in the same position for 4-6 hours straight. That’s when problems compound:
- Forward head posture — your head drifts forward toward the screen, adding 10-12 lbs of effective weight on your neck per inch of forward lean
- Rounded shoulders — chest muscles tighten, upper back muscles weaken
- Lower back compression — slouching eliminates the natural lumbar curve, increasing disc pressure by up to 40%
- Hip flexor tightening — constant sitting shortens hip flexors, pulling your pelvis into anterior tilt
None of this happens overnight. It builds over weeks and months until you notice persistent neck pain, headaches, or lower back stiffness. The solution isn’t perfect posture every second — it’s a system that makes good posture the default.
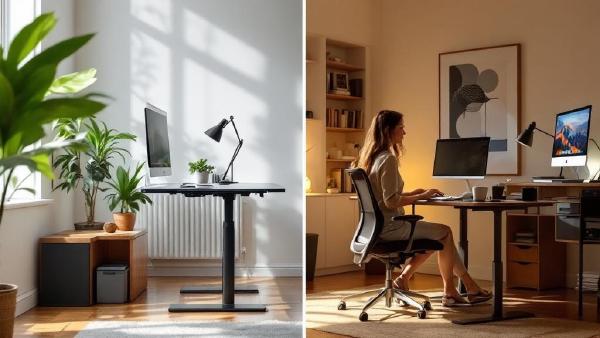
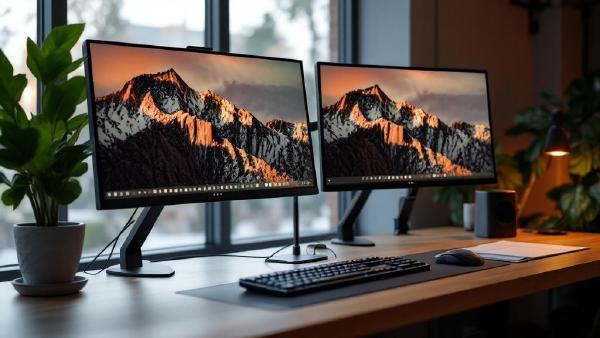
Step 1: Fix Your Screen Height #
This is the single highest-impact change most home workers can make. If your screen is too low (like a laptop on a desk), your head tilts forward and down, and every muscle from your neck to your mid-back compensates.
The Rule #
The top of your screen should be at or slightly below eye level. Your eyes should naturally rest on the upper third of the display without tilting your head.
How to Fix It #
If you use a laptop:
- Get a laptop stand and a separate keyboard/mouse. This is non-negotiable for posture — no laptop stand means your screen or keyboard is always at the wrong height.
- A simple aluminium stand like the Rain Design mStand (UK) works perfectly.
If you use an external monitor:
- Adjust the monitor stand height, or use a monitor arm for precise positioning.
- A monitor riser adds 4-6 inches of height and creates storage space underneath.
- If your monitor is too high (common with 32-inch displays on stands), lower it or tilt it slightly downward.
Quick test: Sit in your normal position, close your eyes, and relax. Open them — where do your eyes naturally land? That spot should be roughly the top quarter of your screen.
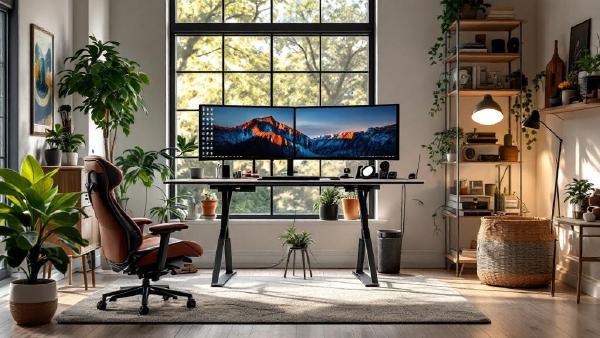
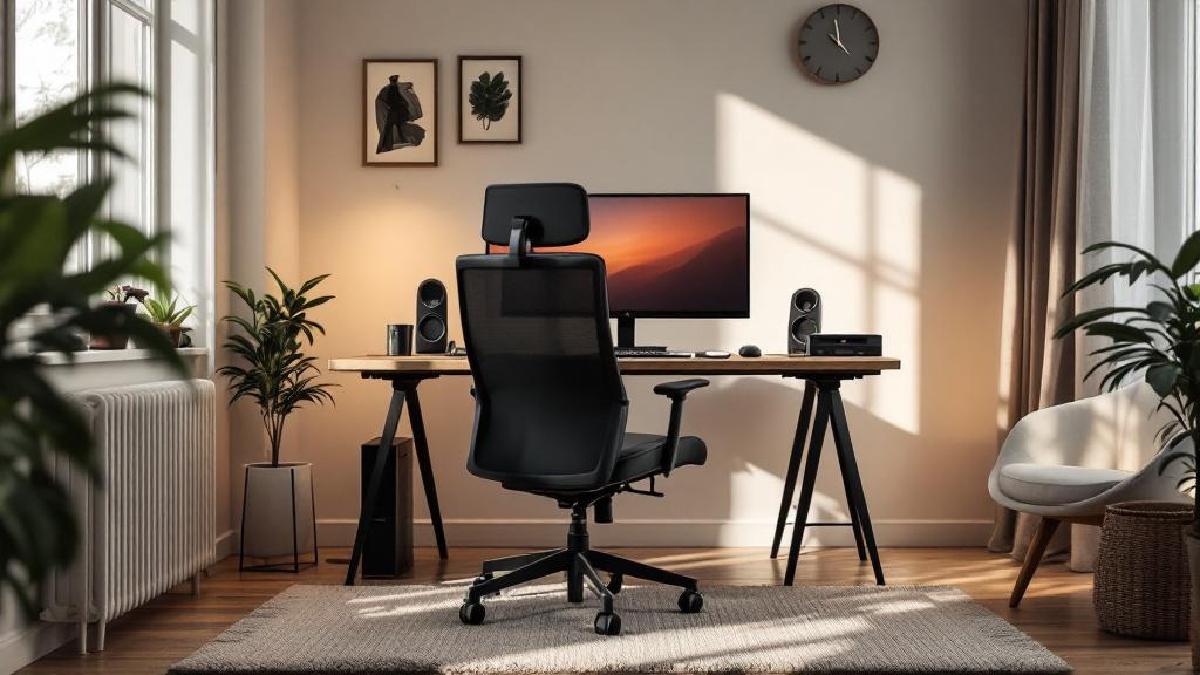
Step 2: Set Up Your Chair Properly #
A good chair doesn’t fix posture if it’s not adjusted correctly. Even a $1,000 chair can cause problems at the wrong height.
The Setup Checklist #
-
Seat height: Adjust so your feet are flat on the floor and your thighs are parallel to it (or angled slightly downward). If your desk is too high and you need to raise your chair, add a footrest so your feet aren’t dangling.
-
Seat depth: There should be 2-3 fingers of space between the front edge of the seat and the back of your knees. If the seat is too deep, you’ll either slouch to reach the backrest or perch on the edge without support.
-
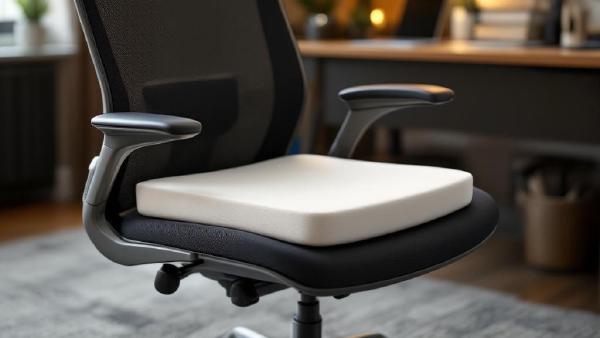
Lumbar support: The lumbar curve of your chair (or an added cushion) should sit in the small of your back — roughly at belt level. It should feel supportive, not pushy. If your chair has no lumbar support, a dedicated office chair cushion is an inexpensive fix.
-
Backrest angle: Slightly reclined (100-110°) is better than perfectly upright (90°). A small recline reduces disc pressure and is easier to maintain long-term.
-
Armrests: Adjust so your elbows rest at roughly 90° with your forearms parallel to the floor. Armrests too high = shrugged shoulders. Too low = leaning to one side.
Don’t Have a Good Chair? #
If you’re working from a dining chair or basic office chair, these additions help most:
- A lumbar support pillow — even a rolled-up towel works temporarily
- A seat cushion for comfort and slight angle adjustment
- A footrest if the chair is too high
But honestly, if you work from home regularly, a proper ergonomic chair is the best investment you’ll make. Our best ergonomic chairs under $500 guide has options from $150 up.
Step 3: Position Your Keyboard and Mouse #
Poor arm and wrist positioning causes shoulder tension and contributes to overall slouching as you reach forward to type.
Keyboard Positioning #
- Your keyboard should be at elbow height or slightly below, with your elbows at ~90°
- Keep it close enough that you’re not reaching forward — shoulders should stay relaxed and back
- Consider a negative tilt (front of keyboard higher than back) rather than using keyboard feet that elevate the back — this keeps your wrists in a more neutral position
- An ergonomic keyboard with a split or curved design encourages natural hand positioning and opens your chest
Mouse Positioning #
- Place your mouse directly beside your keyboard at the same height
- Avoid reaching out to the side — if you use a full-size keyboard with a number pad, the mouse ends up far right, pulling your shoulder forward
- A vertical mouse reduces forearm rotation (pronation) and can relieve wrist strain
- For less shoulder reach, consider a compact or tenkeyless keyboard
Step 4: Follow the 20-20-20 Rule (and Actually Move) #
No amount of perfect ergonomics replaces movement. Static posture — even “good” static posture — causes problems over time. Your body is designed to move.
The 20-20-20 Rule #
Every 20 minutes, look at something 20 feet away for 20 seconds. This reduces eye strain and naturally prompts you to shift position. Set a timer if needed — most people forget without one.
Movement Breaks #
Every 30-60 minutes, stand up and move for 2-5 minutes. This doesn’t have to be exercise — just stand, stretch, walk to the kitchen, look out the window. The goal is to break the static position and let your spine decompress.
Products that encourage movement:
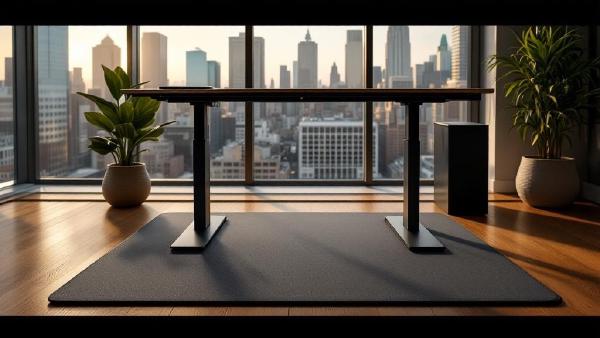
- A standing desk lets you alternate between sitting and standing throughout the day. Even 15-20 minutes of standing per hour makes a difference. See our standing desk vs sitting desk comparison.
- A standing desk mat makes standing comfortable and encourages subtle foot movement
- An under-desk treadmill lets you walk slowly while working — surprisingly effective for posture and energy levels
Build Movement Into Your Schedule #
- Take phone calls standing or walking
- Set a recurring 5-minute movement break on your calendar
- Use the Pomodoro technique (25 min work, 5 min break) — the break is for moving, not scrolling your phone
- If you have meetings, do walking meetings when video isn’t required
Step 5: Strengthen the Right Muscles #
Ergonomic setup reduces strain, but strengthening the muscles that maintain good posture makes it sustainable. These exercises take 10-15 minutes and can be done at your desk or on the floor beside it.
Daily Posture Exercises (10 minutes) #
1. Chin Tucks (fixes forward head posture) Sit upright, pull your chin straight back as if making a double chin. Hold 5 seconds, repeat 10 times. This strengthens the deep neck flexors that hold your head in alignment.
2. Wall Angels (fixes rounded shoulders) Stand with your back against a wall, arms in a “goalpost” position. Slowly slide your arms up and down the wall while keeping your back, head, and arms touching the wall. 10 reps.
3. Thoracic Extension (fixes upper back rounding) Sit in your chair, clasp your hands behind your head, and gently arch your upper back over the backrest. Hold 5 seconds, repeat 10 times. Foam rolling along the upper back also works well.
4. Hip Flexor Stretch (fixes anterior pelvic tilt) Kneel with one foot forward in a lunge position. Push your hips forward gently until you feel a stretch in the front of your back hip. Hold 30 seconds each side.
5. Chest Doorway Stretch (opens tight chest) Stand in a doorway with arms at 90° on the frame. Step forward gently until you feel a stretch across your chest. Hold 30 seconds.
When to Do Them #
The best time is during one of your movement breaks — you’re already standing up. Doing these consistently for two weeks will produce noticeable improvements in how your resting posture feels.
Step 6: Optimise Your Environment #
Small environmental changes compound over time.
Lighting #
Poor lighting causes you to lean forward and squint, wrecking your posture unconsciously. Ensure:
- Your screen isn’t the brightest thing in the room — add ambient lighting
- No glare on your screen from windows behind you
- A monitor light bar illuminates your desk without screen reflections
- A quality desk lamp fills in ambient light
Desk Organisation #
Clutter pushes your keyboard and mouse further away, causing you to reach. Keep your immediate work zone clear with a desk organiser and cable management to maintain clean sightlines.
Temperature #
When you’re cold, you tense up and hunch. Keep your workspace warm enough that your muscles stay relaxed. A small space heater under your desk can help in winter.
Products That Actually Help (and Gimmicks to Skip) #
Worth Buying #
| Product | Why It Helps | Price Range |
|---|---|---|
| Laptop stand + external keyboard | Fixes screen height — the #1 issue | $30-80 |
| Monitor arm | Precise screen positioning, frees desk space | $30-150 |
| Ergonomic chair | Proper lumbar, seat depth, adjustability | $200-500 |
| Footrest | Fixes “feet dangling” when desk is too high | $25-50 |
| Standing desk | Alternating sit/stand breaks static posture | $300-600 |
| Lumbar pillow | Cheap fix for chairs without lumbar support | $20-40 |
Skip These #
- Posture corrector straps — They pull your shoulders back artificially. The moment you take them off, you slump again because the muscles haven’t strengthened. They can actually weaken posture muscles over time.
- Balance ball chairs — They don’t improve posture (studies show people slouch on them too) and they lack back support. Fun for 20 minutes; bad for 8 hours.
- Posture reminder apps that just buzz — Awareness isn’t the problem for most people. Setup and strength are. A buzzer won’t fix a screen that’s too low.
A Realistic Daily Posture Routine #
Here’s what a practical posture-conscious workday looks like:
Morning:
- Spend 2 minutes adjusting your setup — screen height, chair position, feet flat
- Do 5 minutes of chin tucks and wall angels while your coffee brews
Throughout the day:
- Follow 20-20-20 for eye breaks
- Stand up every 45-60 minutes for 2-5 minutes
- Alternate sitting/standing if you have a standing desk (try 45 min sit / 15 min stand)
- Do one set of hip flexor stretches during a break
Evening:
- 5 minutes of thoracic extension and chest stretches
- Notice any tension spots and adjust tomorrow’s setup accordingly
This isn’t a fitness programme — it’s a minimum effective dose that fits into a normal workday.
FAQ #
How long does it take to fix bad posture from working at home? #
Most people notice improvement within 2-3 weeks of consistent ergonomic setup and daily exercises. Significant postural changes take 2-3 months. The key is consistency — doing a little every day beats an intense session once a week.
Can a standing desk fix posture on its own? #
No. Standing with bad posture is just as harmful as sitting with bad posture. A standing desk helps by introducing position variety — alternating between sitting and standing reduces the cumulative strain of either position. Combine it with proper screen height and occasional movement for best results.
Is it better to sit upright at 90° or slightly reclined? #
Slightly reclined (100-110°) is better for most people. Research shows that a 90° upright position actually increases disc pressure compared to a slight recline. A 100-110° angle reduces spinal load while still keeping you engaged with your work. Avoid reclining past 120° during active work — that leads to forward head lean to see the screen.
Do I need an expensive chair to have good posture? #
No, but a chair with adjustable height, lumbar support, and appropriate seat depth makes good posture much easier to maintain. You can improve a basic chair with a lumbar pillow and footrest for under $50 total. That said, if you work 8 hours daily from home, a quality ergonomic chair ($200-500) is a health investment — see our top picks under $500.
What’s the single most important posture fix for home workers? #
Screen height. Most home workers use a laptop flat on a desk, which forces the head forward and down. Raising your screen to eye level with a laptop stand and separate keyboard eliminates the most common and damaging posture problem in one move.
Final Thoughts #
Good posture while working from home isn’t about sitting perfectly still in a textbook position. It’s about creating a setup that supports your body’s natural alignment, building in regular movement, and strengthening the muscles that keep you upright without effort.
Start with the highest-impact changes: raise your screen, adjust your chair, and stand up every hour. Add exercises gradually. Within a month, you’ll feel a genuine difference in how your back, neck, and shoulders feel at the end of the workday.
For the complete picture, pair these posture improvements with a well-designed workspace — our home office setup guide covers everything from desks to lighting to cable management.
Also worth reading: document holder.